Fancy Skin Work in Vise
October 29, 2014, 8:41 pmArticle Summary
Eldar Gerfanov (Admin)
October 29, 2014, 8:41 pm
Eldar Gerfanov (Admin)
October 29, 2014, 8:58 pm
9270
Public
Author Summary
Sun February 22, 2026, 4:29 am
Sun February 22, 2026, 4:29 am
 |
There is more than one way to skin a cat! Previously i have showed how to machine multiple pieces out of a flat plate holding only on to 0.010" thick material on the outside of the part. (here) But there is more than one way to do it. Sometimes your part is so hard to hold, that using tabs or skin is the best, or even the only way of machining something. Very often, working in prototyping, I have to make only one single part and designing and producing special fixturing is also not feasible. |
Here is how you can easily machine a difficult-to-hold part from both sides without using a separate fixture:
Setup: Put or part in vise. Make sure to square off at least two sides contacting the jaws for accurate positioning and minimum distortion.
Program part normally. Perform as many operations on the first side as possible.
When machining outside profile, machine to the exact depth of your part.
Here is how your part might look after completing the first OP:
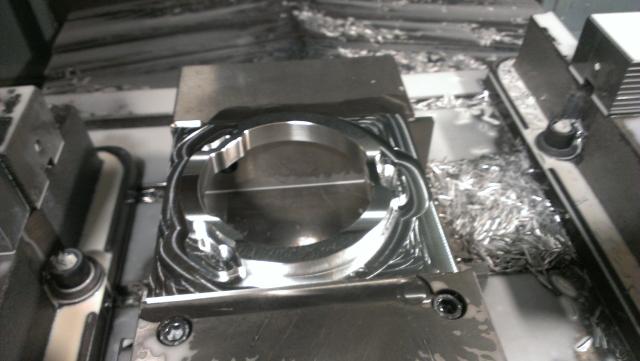
(Sorry, a bit out of focus)
Make sure you finish the outside flanges of your part good if you plan to use them to sit part on parallels, like i do in the next operation!
After machining one side we would normally set up a fixture to hold the part from the inside hole, then re-clamp it and machine the inside hole features. This requires quite a lot of planning and also makes you stop mid-operation to re-clamp the part.
Never mind having to worry about avoiding clamps and bolts!
What i did instead is i flipped part over in vise and put it down on parallels:
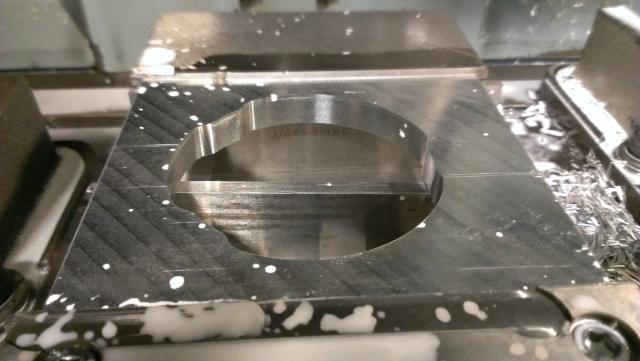
Next i machined as much as possible from the back side while i still had enough meat to hold the part securely.
After machining critical features i programmed a pocked using outside profile of the part as my boundary thus finishing the back face of the part. I made sure i kept at least 0.003" in xy away per side from my finished size:
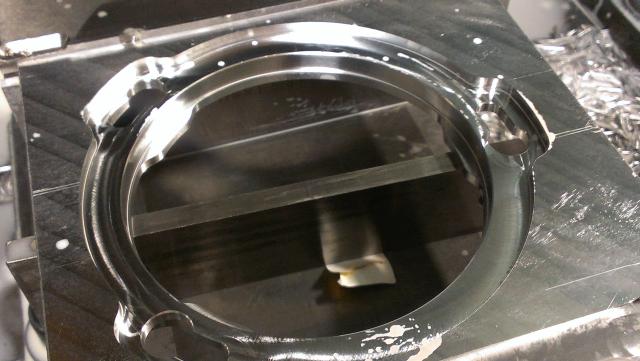
That't it.
After a few knocks on the scrap flanges, the inside part simply falls off!
Only minor deburring is required to remove the sharp edges.
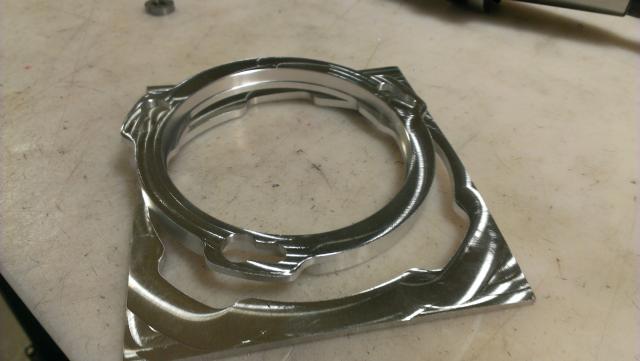
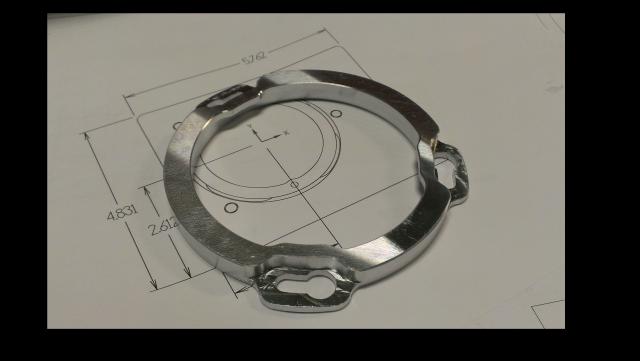
Here is the finished part.
